Zephrous
Zephrous
10.0 Case Study - JavaSip
10.1 Keith's Story
10.2 Susan's Morning Cup of Joe
10.3 Other Stories
Chapters
Course Conclusion & Final Assessment
8.0 Course Conclusion & Final Assessment - Quizzes
Course Introduction
0.0 Course Introduction
0.2 Course Content
0.3 Course Specifications
0.4 Course Disclaimer
0.5 ISC2 Code of Ethics
Course Pre-assessment
0.1 Pre-assessment
Domain 1 - Security Principles
Domain 1 - Security Principles
1.-1 Domain 1 Information
1.0 The Confidentiality, Integrity, and Availability (CIA) Triad
1.1 Privacy
1.10 Authentication
1.11 Professional Code of Conduct
1.12 Privacy in the Working Environment
1.13 Importance of Governance Elements
1.14 Risk Management Terminology
1.15 Decision Making Based on Risk Priorities
1.16 Importance of Risk Management
1.17 Risk Identification
1.18 Governance Elements
1.19 Proving Identity
1.2 Introduction to Risk Management
1.20 Non-repudiation
1.21 CIA in the Real World
1.22 Methods of Authentication
1.23 Risk Priorities
1.24 Risk Tolerance Drives Decision Making
1.25 Risk Treatment
1.26 Risk Tolerance
1.27 Risk Assessment
1.28 What are Security Controls
1.29 CIA Triad Deep Dive
1.3 Threats, Vulnerabilities & Likelihood
1.4 Swimming WIth Sharks
1.5 Importance of a Professional Code Ethics
1.6 Risk in Our Lives
1.7 Protecting Information
1.8 Making Connections
1.9 Theoretical Example - Code of Ethics
Domain 2 - Incident Response, Business Continuity and Disaster Recovery Concepts
Domain 2 - Incident Response, Business Continuity and Disaster Recovery Concepts
2.-1 Domain 2 Intro
2.0 Incident Terminology
2.1 The Goal of Incident Response
2.10 The Importance of Business Continuity
2.11 Disaster Recovery in the Real World
2.12 Consulting with Management
2.13 Incident Response Team
2.2 Business Continuity in the Workplace
2.3 Components of a Business Continuity Plan
2.4 Components of the Incident Response Plan
2.5 Incident Response Priorities
2.6 The Goal of Disaster Recovery
2.7 Components of a Disaster Recovery Plan
2.8 The Goal of Business Continuity
2.9 Business Continuity in Action
Domain 3 - Access Control Concepts
Domain 3 - Access Control Concepts
3.1 Security Controls
3.10 Controls Assessments
3.11 What are Physical Security Controls
3.12 Role-Based Access Control
3.13 How Users Are Provisioned
3.14 RBAC in the Workplace
3.15 Privileged Accounts
3.16 Privileged Access Management
3.17 The Benefit of Multiple Controls
3.18 Discretionary Access Control (DAC)
3.18 Separation of Duties
3.19 Authorized Versus Unauthorized Personnel
3.2 Controls Overview
3.20 Types of Physical Access Controls
3.3 Defense in Depth
3.4 Examples of Least Privillege
3.5 Mandatory Access Control (MAC) in the Workplace
3.6 Mandatory Access Control (MAC)
3.7 What are Logical Access Controls
3.8 Defense in Depth in Practice
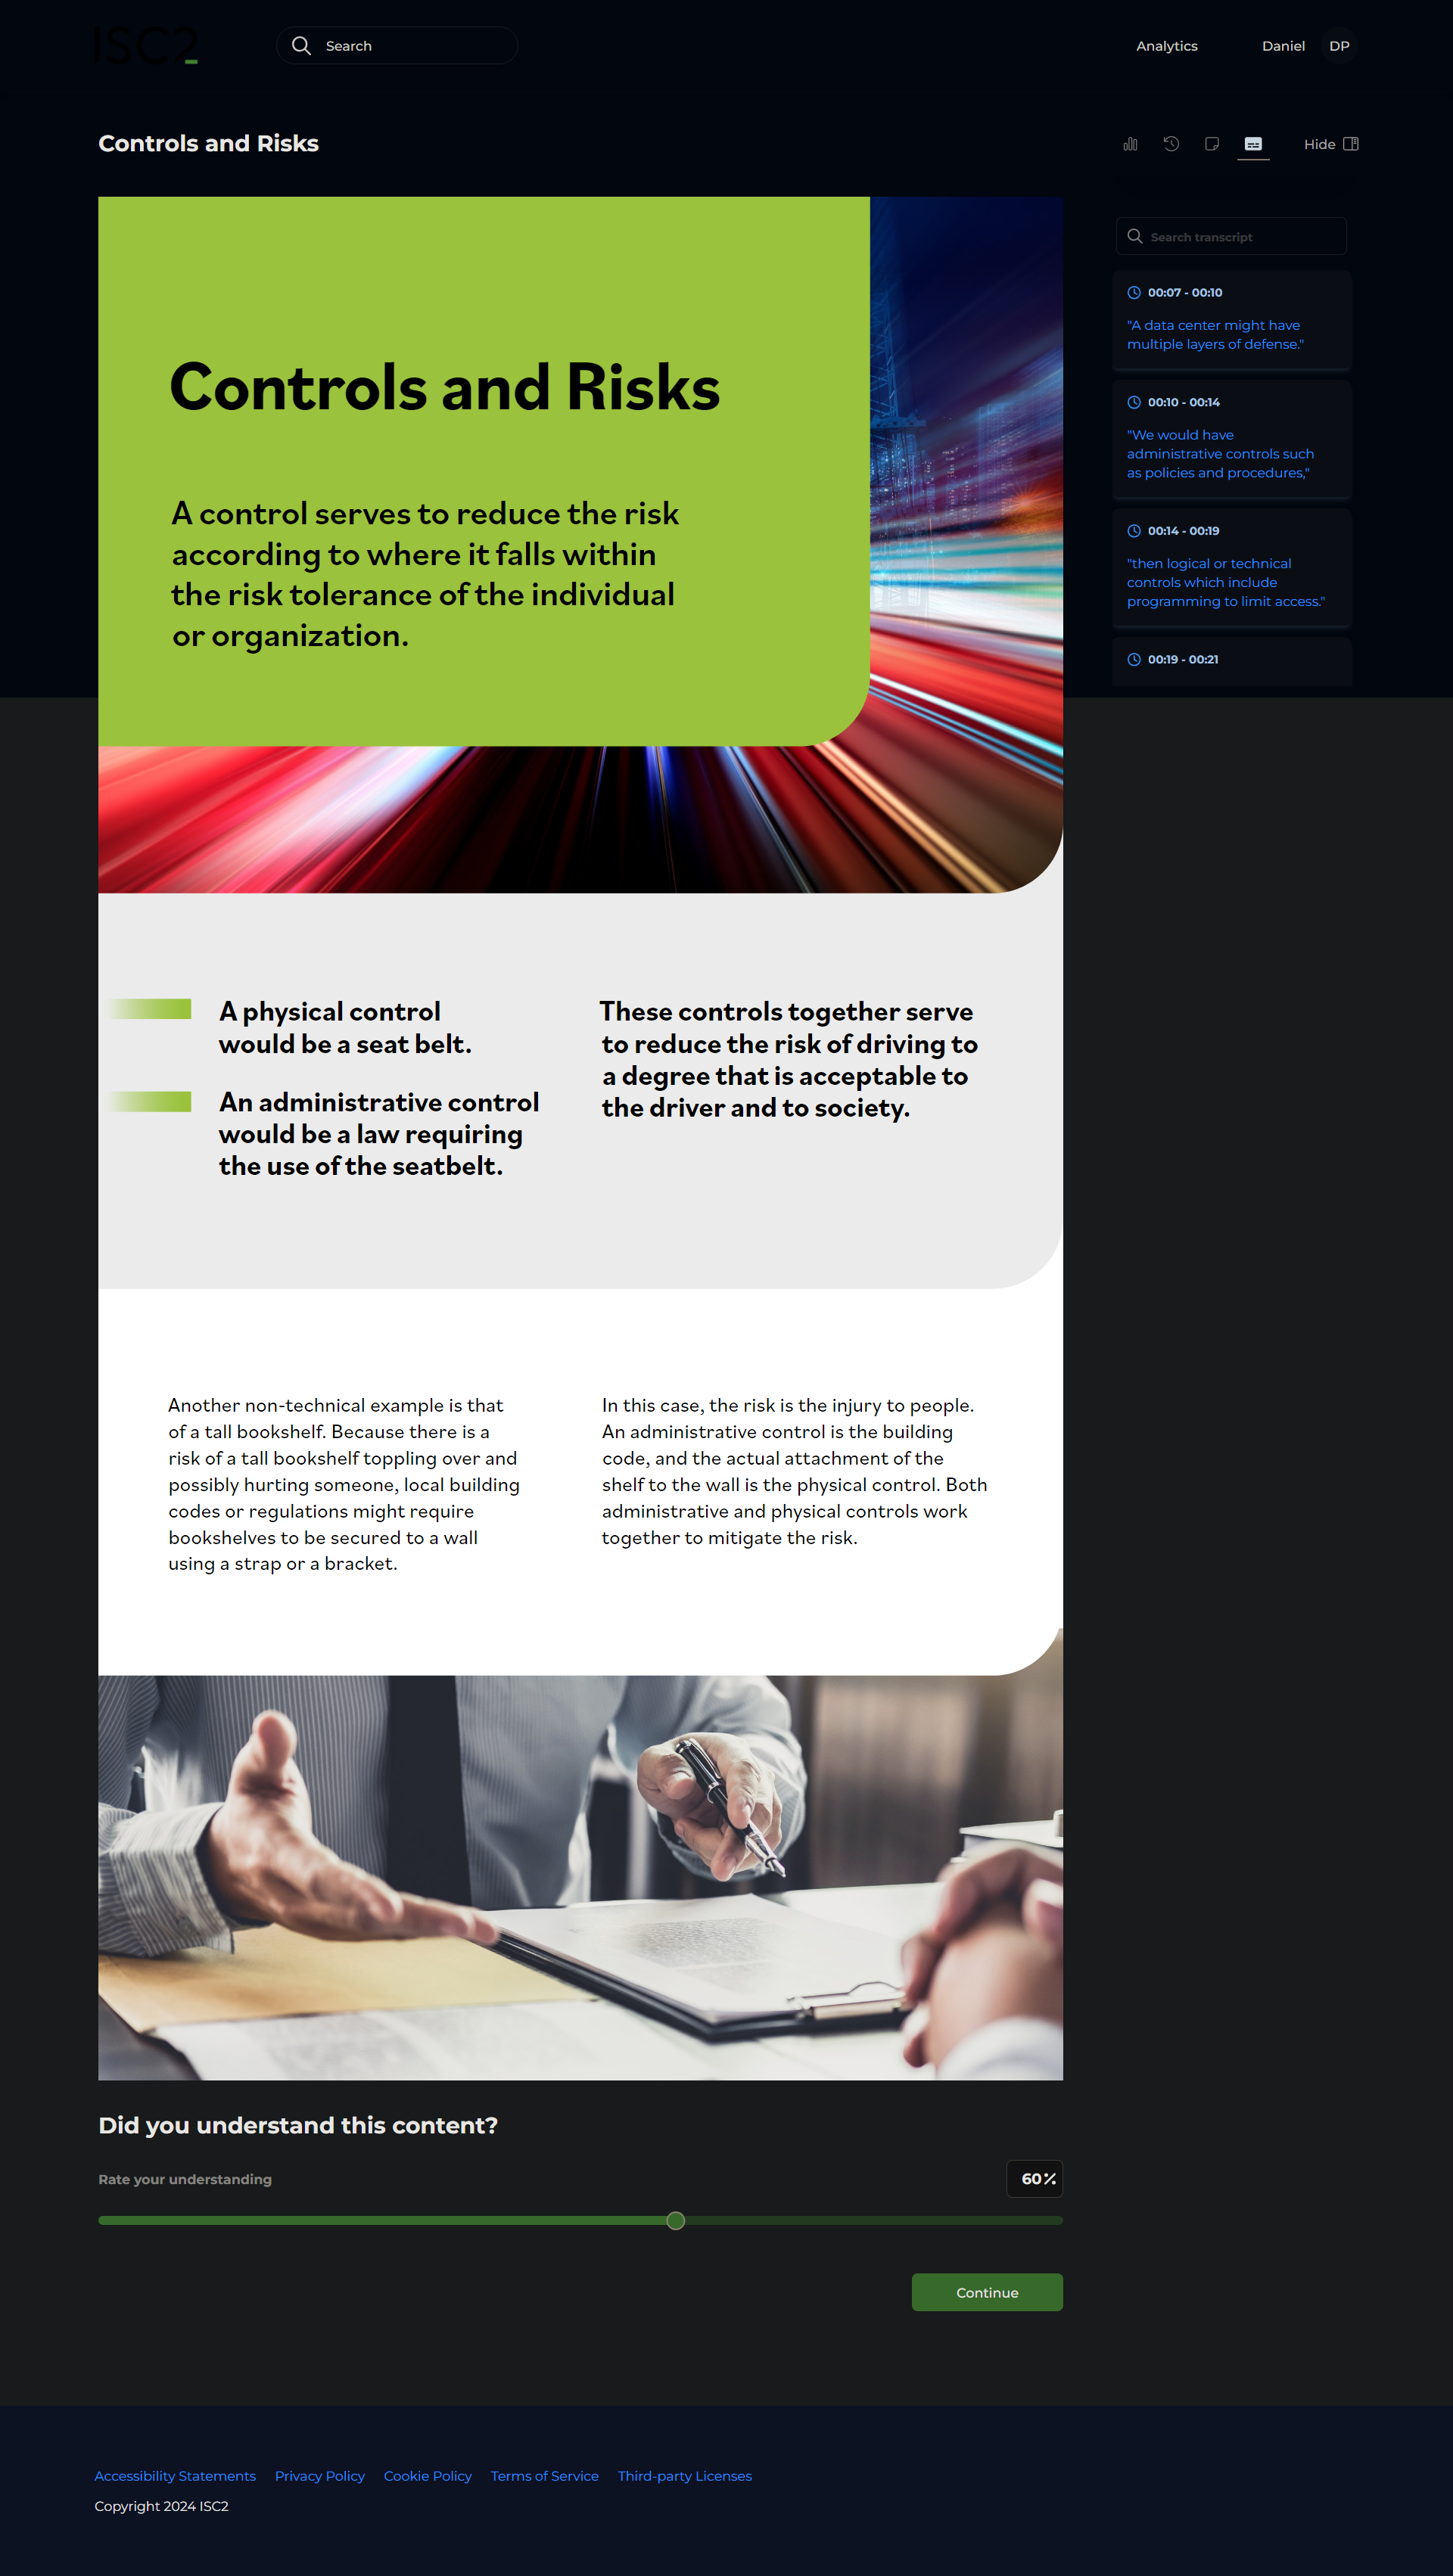
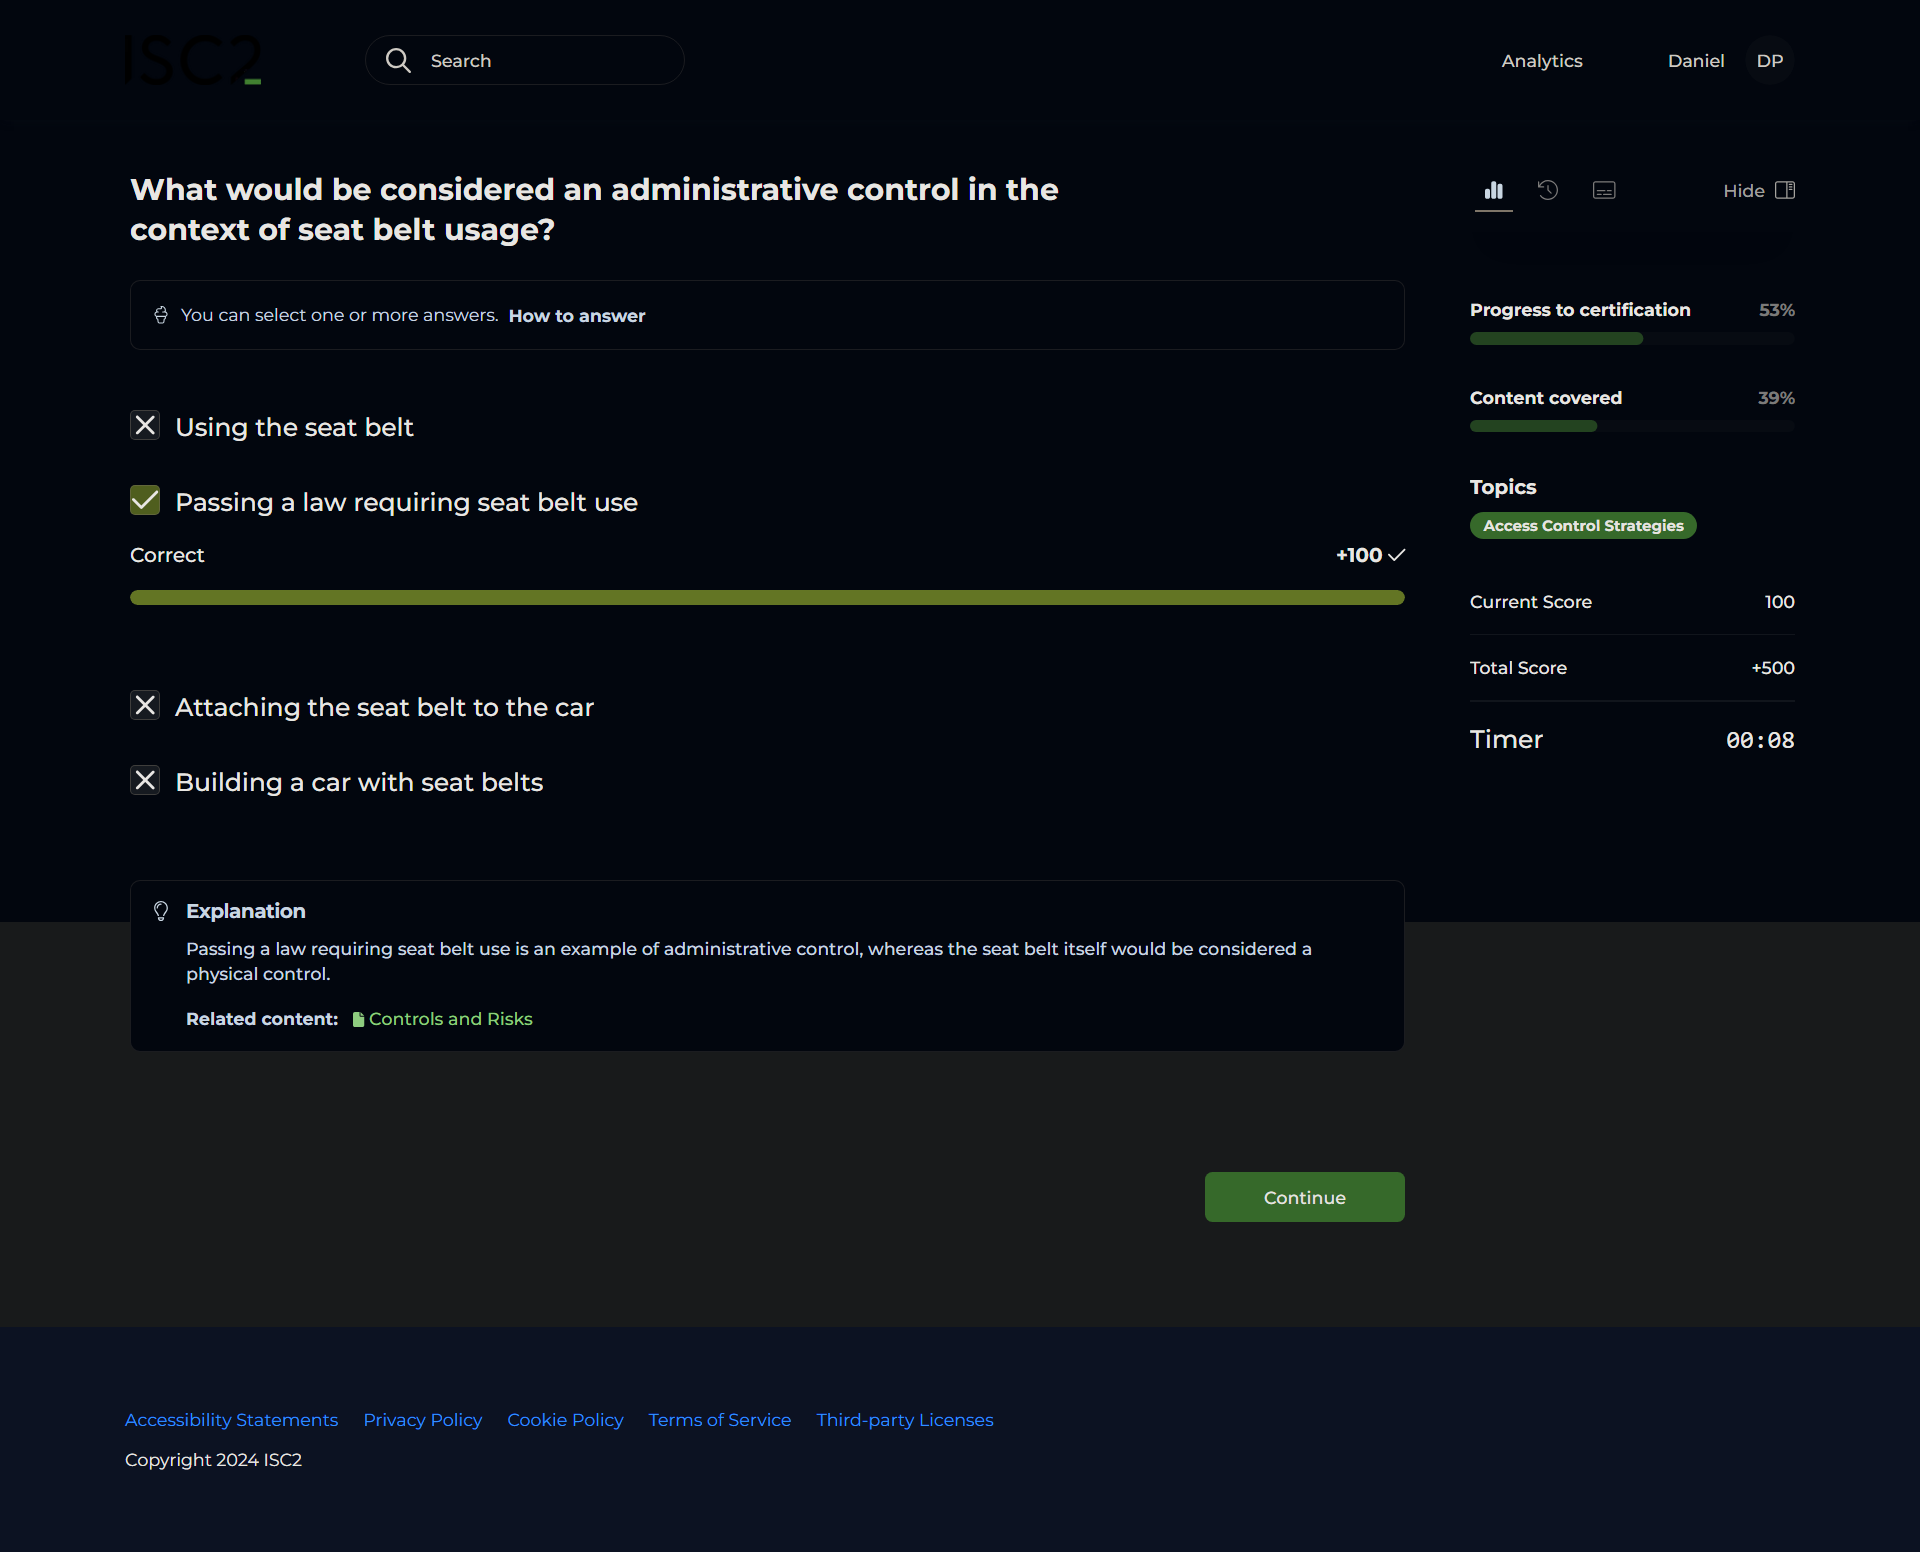
3.9 Controls and Risks
Domain 4 - Network Security
Domain 4 - Network Security
4.1 Networking
4.10 Virtual Private Network (VPN)
4.11 DMZ (Demilitarized Zone) Deeper Dive
4.12 Virtual Local Area Network (VLAN)
4.13 Intrusion Detection System (IDS)
4.14 Preventing Threats
4.15 Security of the Network
4.16 SYN, SYN-ACK, ACK Handshake
4.17 Ports and Protocols (Applications or Services)
4.18 Example of Redundancy - Application of
4.19 Redundancy
4.2 Networking at a Glance
4.20 Deep Dive of On-Premises Data Centers
4.21 Cloud Redundancy
4.22 Service Models
4.23 Managed Service Provider (MSP)
4.24 Cloud Characteristics
4.25 Cloud Computing
4.26 Service-Level Agreement (SLA)
4.27 Network Design
4.28 Types of Threats
4.29 Network Access Control (NAC) Deeper Dive
4.3 What is WiFi
4.30 Memorandum of Understanding (MOU) and Memorandum of Agreement (MOA)
4.31 Virtual Local Area Network (VLAN) Segmentation
4.32 Networking Models
4.33 Transmission Control Protocol Internet Protocol - TCP or IP
4.34 Segmentation for Embedded Systems and IoT Deeper Dive
4.35 Identifying Threats
4.36 Segmentation for Embedded Systems and IoT
4.37 On-Premises Data Centers
4.38 Open Systems Interconnection (OSI) Model
4.39 Network Access Control (NAC)
4.4 Impacts of Cyber Attack
4.40 Deployment Models
4.41 Zero Trust
4.42 Defense in Depth
4.43 Internet Protocol (IPv4 and IPv6)
4.45 Secure Ports
4.5 Microsegmentation
4.6 Tools to Identify and Prevent Threats
4.7 Microsegmentation Characteristics
4.8 Network Segmentation - Demilitarized Zone (DMZ)
4.9 DMZ (Demilitarized Zone) Deeper Dive
Domain 5 - Security Operations
Domain 5 - Security Operations
5.1 Data Handling
5.10 Phishing
5.11 Best Practices of Security Awareness Training
5.12 Common Security Policies Deeper Dive
5.13 The Risks of Change
5.14 Change Management Components in the Workplace
5.15 Change Management Components
5.16 Logging and Monitoring Security Events
5.17 Supporting Security Policies with Procedures
5.18 Password Protection
5.19 Event Logging Best Practices
5.2 Data Handling Deep Dive
5.20 Security Awareness Training Example
5.21 Symmetric Encryption
5.22 Asymmetric Encryption
5.23 Social Engineering
5.24 Hashing
5.25 Configuration Management Overview
5.26 Common Security Policies
5.27 Data Handling Practices
5.3 Encryption Overview
5.4 Security Awareness Training
5.5 How Passwords Work
5.6 Encryption Deep Dive
5.7 Hashing Deep Dive
5.8 Data Security Event Example
5.9 Password Advice and Examples
Flash Cards
Domain 1 - Security Principles
6.1 Flash Cards - Domain 1 - Security Principles
Domain 2 - Incident Response, Business Continuity and Disaster Recovery Concepts
6.2 Flash Cards - Domain 2 - Incident Response, Business Continuity and Disaster Recovery Concepts
Domain 3 - Access Control Concepts
6.3 Flash Cards -Domain 3 - Access Control Concepts
Domain 4 - Network Security
6.4 Flash Cards - Domain 4 - Network Security
Domain 5 - Security Operations
6.5 Flash Cards -Domain 5 - Security Operations
Flashcards from Quizlet
7.0 Flashcards from Quizlet
Glossary
9.0 Glossary
ISC2-EXAM-PREP-README.md
3.9 Controls and Risks